Joel is a whiz with computers. When he was just…
As gamers, we all know the importance of a solid gaming setup. But there’s one aspect that many overlook—sound. Whether you’re blasting through your favorite game or streaming to an audience, sound can make or break the experience. Poor acoustics can lead to complaints from neighbors or family members, and let’s face it—bad sound can even mess with your gameplay. Echoes, noise leakage, and low-quality voice chat all impact how immersive and enjoyable your gaming sessions are.
You don’t have to spend thousands building a professional studio to solve these issues. Simple, cost-effective solutions like acoustic dampening panels can dramatically improve the sound quality in your room. These panels absorb unwanted echoes and sound reflections, making your voice chat clearer and reducing the noise that spills into other rooms. Best of all, they’re affordable and easy to install, meaning you can upgrade your gaming experience without breaking the bank.
Table of Contents
ToggleWhy Your Gaming Room Needs Sound Treatment
If you’re experiencing sound issues in your gaming setup, you’re not alone. Many gamers face the same problems: echoes, reverb, and feedback from the microphone. These can ruin both your immersion and your communication with teammates. The reality is, most gaming rooms aren’t designed with acoustics in mind. Hard surfaces like walls, floors, and furniture reflect sound, making things like voice chat and game audio sound tinny or distorted.
Even if you’ve invested in a high-quality microphone, all that can be undone by poor acoustics. You might hear complaints from your teammates about static or background noise, or maybe your recordings sound flat and muffled. Addressing these acoustic issues is crucial for any gamer looking to level up their setup. It’s not just about hearing the game—it’s about making sure your voice comes through clearly and the sounds are crisp, immersive, and distortion-free.
Understanding the Basics
Soundproofing vs Sound Dampening
Before diving into solutions, it’s important to understand the difference between soundproofing and sound dampening. Soundproofing refers to blocking sound from entering or leaving a space. It’s often used in environments like music studios or apartments with thin walls. While soundproofing is great for preventing noise leakage, it can be expensive and complicated.
Sound dampening, on the other hand, is about controlling sound within a room. It’s more about reducing echoes and reverb, which is what you’ll likely need in your gaming setup. Acoustic dampening panels are designed to absorb sound waves, preventing them from bouncing off hard surfaces and creating unwanted noise. This is the most budget-friendly solution for improving sound quality in your room.
Problem Areas in Most Gaming Rooms
Gaming rooms often have certain problem areas that contribute to poor acoustics. One of the biggest culprits is bare walls. Without anything to absorb sound, sound waves bounce off the walls, creating echoes and muddying the audio. Likewise, bare floors or ceilings made of hard materials can reflect sound, making it even harder to achieve clear audio.
Corners are another area to address. Sound tends to build up in corners, creating “bass traps” that muddy the sound and make the audio feel heavy or distorted. Without proper treatment, your gaming room’s acoustics will never be as crisp and clear as you want them to be.
Free and DIY Solutions
Improving your gaming room’s acoustics doesn’t have to cost a fortune. In fact, there are plenty of ways to enhance your setup without spending a dime or a large chunk of your budget.

Let’s explore some free and DIY options that can make a noticeable difference.
Rearrange Your Room Layout
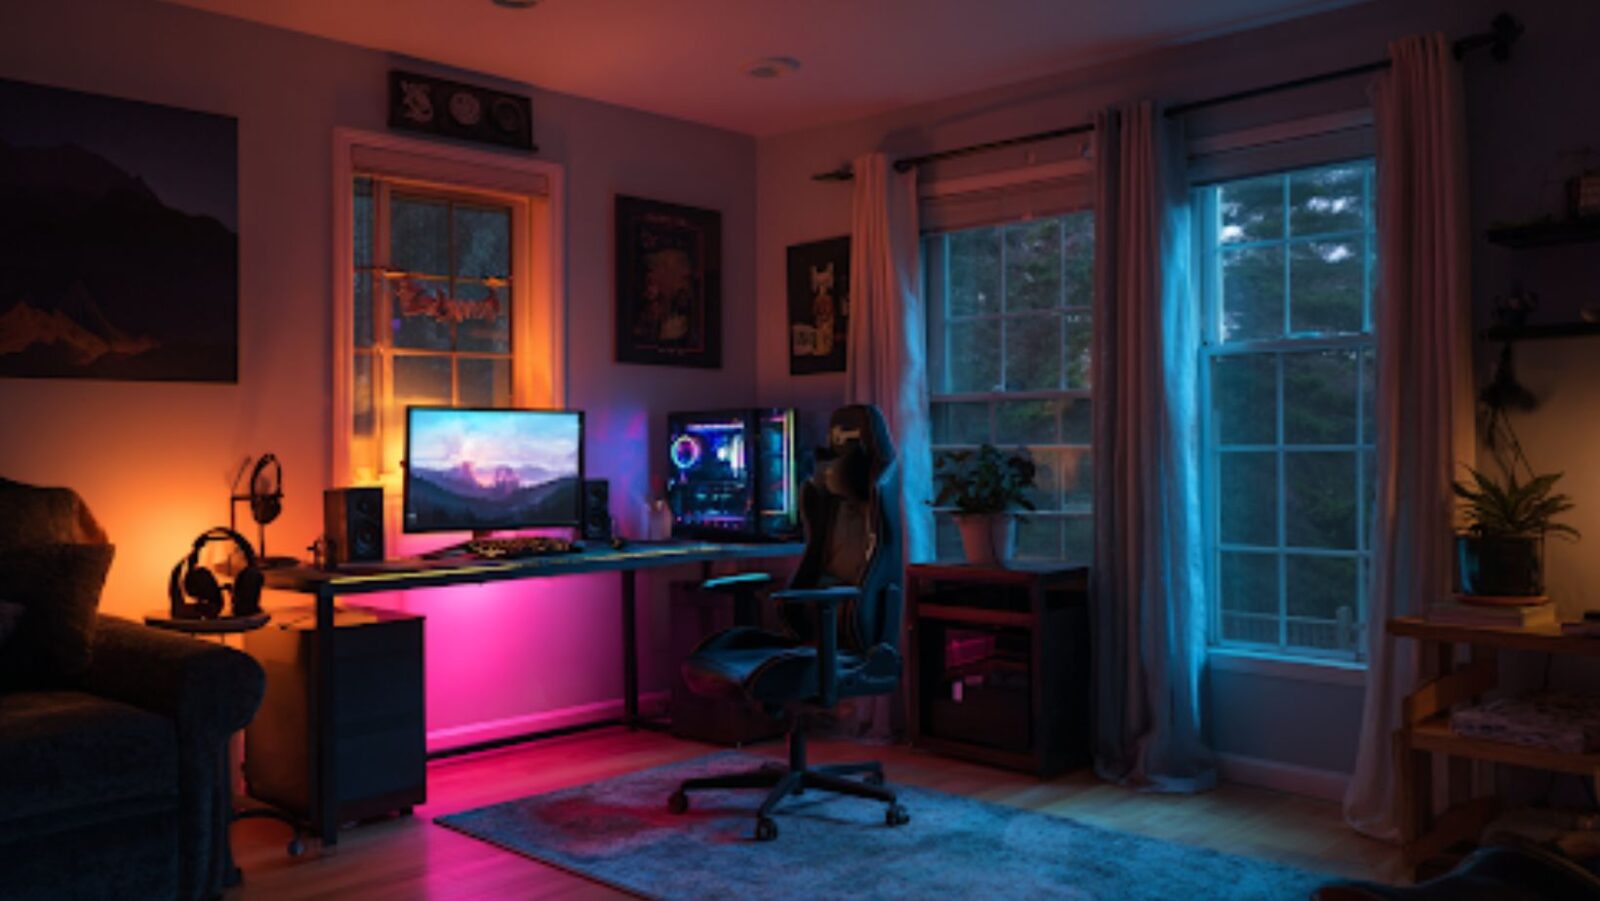
One of the simplest and most effective ways to improve the sound in your gaming room is by adjusting your room’s layout. Start by positioning your gaming chair or desk away from hard walls and corners. If you can, place your seat closer to the center of the room. This helps reduce sound reflection and minimizes the chances of creating standing waves or echoes.
Also, try to angle your speakers or monitors towards your seating area. This helps the sound travel directly to where you’re sitting, reducing reflections that could distort the audio. Sometimes, just moving furniture around can make a huge difference in your overall sound experience.
Use What You Already Have
You don’t always need to buy expensive soundproofing materials to improve acoustics. You’d be surprised how much you can do with what you already have lying around.
Start by using blankets, pillows, or even large bookshelves to absorb sound. Hanging blankets or curtains on bare walls can reduce reflections, and strategically placing pillows or cushions in corners can help absorb bass buildup. Bookshelves filled with books not only act as great decoration but also work as a form of passive soundproofing by diffusing sound waves.
DIY Acoustic Panels
For a more customized approach, you can create your own acoustic panels. It’s simpler than you think, and the materials are often cheap and easy to find. All you need is some sound-absorbing material (like foam or cotton), fabric, and a wooden frame.
Start by cutting your foam or insulation material to fit the frame, then wrap it in a fabric of your choice. Hang these panels strategically on the walls where sound reflections are most problematic—like opposite your speakers or near the corners. DIY acoustic panels are a great way to control sound without spending a lot of money on pre-made solutions.
Affordable Store-Bought Options
If you’re looking for quicker solutions, there are plenty of budget-friendly options available in stores that can significantly improve your room’s acoustics without breaking the bank.
Acoustic Foam Panels Under £50
Acoustic foam panels are one of the most cost-effective ways to treat your gaming room acoustically. You can find a variety of affordable foam panels on sites like Acousticpanels.co.uk and Amazon for under £50. These panels are easy to install, lightweight, and effective at reducing sound reflections and echoes.
Choose panels with a high NRC (Noise Reduction Coefficient) rating for better absorption. Depending on your room size, you can buy a set and cut it to fit the problem areas. For a simple upgrade, these foam panels can dramatically change the sound quality in your gaming setup.
Moving Blankets Hack
If you need a super cheap and easy solution, moving blankets can work wonders. These heavy-duty blankets are designed to absorb sound, making them perfect for a quick fix. Drape them over the walls, hang them over windows, or even use them to cover your door to prevent sound from leaking into other rooms.
While they may not look as polished as dedicated acoustic panels, moving blankets are incredibly effective in reducing sound travel and improving room acoustics on a budget. Plus, they’re versatile and can be reused for other purposes if you ever move to a new place.
Bass Traps for Corner Treatment
Bass traps are essential for improving low-end frequencies, especially in rooms with sharp corners. Luckily, you don’t have to buy expensive options to treat the corners of your room. There are budget-friendly bass trap solutions made from foam, fabric, or insulation that can be placed in the corners of your room to reduce bass buildup.
By addressing the corners where sound tends to gather, you’ll notice clearer bass and more accurate sound reproduction. Bass traps are a must if you want to achieve balanced sound in your gaming setup without spending a lot of money.
Strategic Placement Tips
Once you’ve invested in soundproofing materials, the next step is to strategically place them to maximize their effectiveness. Proper placement can significantly improve the acoustics of your gaming room and ensure the best possible sound experience.
Where to Place Acoustic Panels
Start by placing acoustic dampening panels at the first reflection points. These are the spots where sound waves first bounce off your walls after leaving your speakers. Typically, this is the area on the walls directly opposite your speakers, around the height of your ears when sitting. You can use a mirror to help you spot these reflection points—sit in your gaming chair, hold a mirror against the wall, and move it around until you can see the speakers in the reflection. That’s where your panels should go.
For a more comprehensive treatment, you can cover additional walls or use bass traps in the corners to absorb low frequencies and improve clarity. The key is to avoid over-cluttering the space—placing too many panels can make the room feel “dead” or overly dampened.
Monitor Speaker Placement
Proper speaker placement is crucial for achieving clear, balanced sound. Your speakers should be placed at ear level for optimal sound direction, and they should form an equilateral triangle with your seating area. The tweeters (the small high-frequency drivers) should be aimed at your ears, as this will ensure the best clarity and stereo imaging.
Avoid placing your speakers directly against the wall, as this can cause sound distortion and muddy the bass. If possible, keep them a few inches away from walls and corners to avoid reflections.
Door and Window Treatment
Doors and windows are often overlooked when it comes to soundproofing, but they can be major sources of noise leakage. Consider adding acoustic dampening panels or thick curtains around your windows to block external noise and prevent sound from escaping. For doors, weatherstripping, and adding a solid-core door can drastically reduce sound leakage.
If your room has thin or hollow-core doors, swapping them out for more solid ones or covering them with moving blankets can help block unwanted noise and keep your sound contained within the room.
By gradually upgrading your space, you’ll be able to enjoy high-quality sound without having to make massive financial commitments upfront. Taking a thoughtful, step-by-step approach ensures that your gaming room remains the ultimate escape for years to come.
Joel is a whiz with computers. When he was just a youngster, he hacked into the school's computer system and changed all of the grades. He got away with it too - until he was caught by the vice-principal! Joel loves being involved in charities. He volunteers his time at the local soup kitchen and helps out at animal shelters whenever he can. He's a kind-hearted soul who just wants to make the world a better place.


